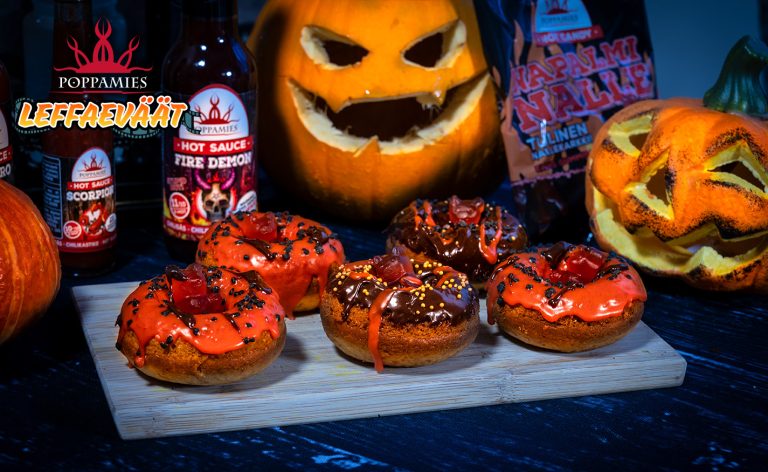
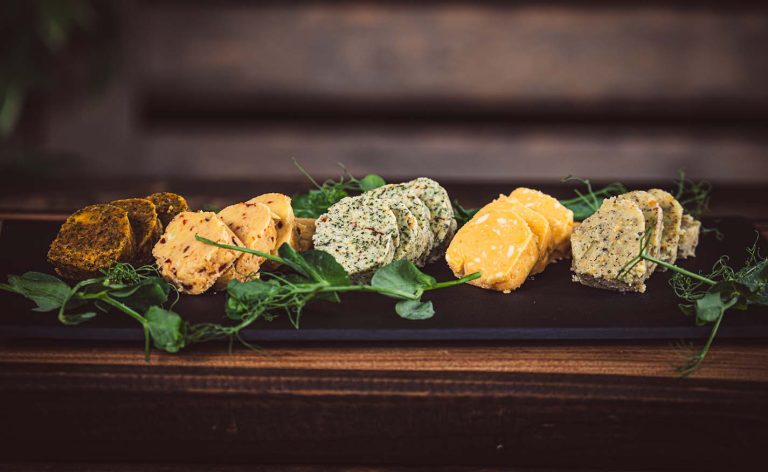
Chili Donuts!

For many, ribs are the crown jewel, and naturally, you want to offer your friends the best possible experience and your personal favorite. There are of course a huge number of different preparation methods, just like there are many kinds of equipment. It’s clear that in an apartment building you don’t have the same freedom as at a summer cottage next to a big American smoker, but you can still make great ribs even in an apartment or on a townhouse backyard. If you’re making ribs for the first time, we recommend, in addition to this article, our foolproof ribs recipe!
This article is intended to go over a few general techniques at a simple level and guide you on how to easily achieve a great result. You can always go deeper and fine-tune things to your own taste, but with these tips you’ll reach a better-than-average result on a general level. You can build on this guide and adjust the nuances to your own liking. There are many ways to reach a good result and not just one truth. Many experienced grillers will surely have their own comments on this, and I also have my own little details for different situations and equipment. The aim is still to keep this a simple article from which you can start building the perfect solution for your setup and circumstances—your own signature method.
Let’s make it clear right from the start that if you want to make low-sodium food, ribs might not be the best choice. A low-salt result tends to be dry and flavorless apart from the surface.
There was recently a heated debate about the pre-preparation of ribs, and especially the boiling method favored by many took some serious flak. Boiling is not my favorite either, because it draws flavor out of the meat into the cooking water and thereby reduces the meaty taste in the ribs themselves. Of course, the broth can be put to use—you can add potatoes and spices and make a soup, for instance. But that’s not the point; the goal is to make the best-tasting ribs. One good use for the broth is to reduce it down and turn it into a BBQ sauce. It will be a bit salty, but definitely flavorful.
Since the boiling method is widely used, let’s try to get the most out of it here as well.
“The meat doesn’t know how or with what it was prepared. The main thing is that you achieve a good result, whatever the technique or combination of techniques may be.”
It’s good to understand what differences there are in the ribs available for sale. The selection of ribs in Finland is relatively limited, but the variety and specialty cuts are constantly expanding. Here’s a brief overview of the most commonly available pork ribs:
Spare ribs – longer ribs cut from the belly area, which fortunately usually have a generous amount of meat left on them. The cooking time is longer, but there’s more to eat. Spare ribs are my personal favorite.
Baby back ribs – shorter “upper” ribs, meaning they are cut from the spine downward. The “baby” refers to the short length of the ribs. The meat is tender and there should be a good amount of it, and they also cook a bit faster than spare ribs. Unfortunately, in Finnish cutting style the meat is often rather thin.
“Bone-in belly” – rib-like cuts of pork belly with bones are available in several varieties. For these, low temperature and long cooking time are key. These aren’t “ribs” as such, but bone-in belly. There’s the same meat on the bones as with spare ribs, but with a thicker layer of other meat and fat on top. Nevertheless, I prepare them like ribs, just with a longer cooking time, and usually as a main dish for a larger group. Traditional ribs for 10 people don’t easily fit on most grills.
When it comes to the proper doneness, there are several schools of thought, the most popular being “meat falls off the bone” and “has some bite.” I personally prefer the latter. If I want completely falling-apart overcooked meat, I usually make something else, because in my opinion ribs are at their best when they have a proper bite and are eaten while holding onto the bone.
Of course, this is a matter of personal preference, but it does slightly affect the cooking time. Usually, with about 30–45 minutes more pre-cooking, you’ll get fall-off-the-bone meat instead of something to bite into. However, the meat should still come off the bone easily—if it doesn’t, it’s not done yet.
The right tenderness is also an important indicator in cooking, because there are many different cuts and qualities of meat, and grills vary too. It’s impossible to say by the clock or even a thermometer exactly when it’s done—only by testing tenderness can you tell if the ribs are ready. By poking with a fork or twisting the bone slightly, you can see if the meat has become tender. One good sign is the meat pulling back so that the bones become visible by about 1–1.5 cm.
There is usually a membrane on the back side of the ribs; membrane-free ones are quite rare in stores. The easiest way to remove the membrane is to slide the tip of a knife between the bone and the membrane. Gradually you can get a finger in and start pulling the membrane off. Usually it comes off fairly easily, but there are days when it just won’t cooperate. Be patient. 🙂
NOTE! If you plan to pre-boil the ribs, skip ahead in the article to the “boiling” method section. It’s not necessary to brine the ribs beforehand, nor is it worth seasoning the surface at this stage if you intend to pre-cook them by boiling.
If the ribs are very meaty (or if you’re using bone-in pork belly): After removing the membrane, I recommend submerging the ribs in cold brine in the fridge overnight, so get them a day in advance. There’s not always time for this and you can still get a good result without it, but if your goal is mouthwatering, juicy ribs, you’ll want them to absorb some moisture before cooking. You can also add other spices to the water, but their absorption into the meat is very slow and minimal. Personally, I only use salt.
As a basic recipe, place the ribs in a sealable bag or a large dish and pour in cold brine (about 40 g or 2 tablespoons of salt per liter of water) so that the ribs are fully covered. One rack of ribs easily absorbs about 40 g of liquid. That’s quite a bit compared to the amount of meat. However, the ribs won’t become overly salty because only some of the salt is absorbed. But if you leave the ribs in the brine for several days, the salt concentration will increase.
NOTE! When using lean baby back ribs, it’s better to use a milder brine or skip it altogether. Ribs can easily become too salty if they have little meat on them.

You can use rub seasoning generously! The grill is rarely this happy 😉 The grill in the picture is a kamado grill with a ceramic plate between the coals and the meat. You can cook slowly at low heat.
Do you like the taste of smoke, but smoking isn’t an option? In that case, I recommend adding 1–2 tablespoons of Poppamies Liquid Smoke per liter of water to the brine or sprinkling it over the seasoning layer before the pre-cooking stage. Many who smoke their food tend to shy away from liquid smoke, but it’s real smoke, extracted into liquid and filtered of impurities (carcinogens). Sure, there may be some made of chemicals too, but this one is clean smoke and suitable for all kinds of cooking.
If the ribs are “regular store-bought ribs” with only a thin layer of meat: In that case, just RUB seasoning is enough, so skip to step 3.
The next day (or after as much time as you had available), take the ribs and drain off the excess liquid. Lay the ribs out on baking paper, brush them lightly with mustard (optional), and pat RUB seasoning onto both sides. Poppamies has a wide range of options. Use as much seasoning as the surface can easily take, and if needed, lightly moisten the surface with something like cola. Be careful not to rinse off the spices—usually, no extra moisture is needed at this stage.
There are many opinions about how long RUB seasoning should sit on the surface of the meat before starting the cooking. You can proceed to the pre-cooking stage right away. Ribs generally have a fairly thin layer of meat, and the salt has time to absorb during pre-cooking—most flavors besides salt don’t really penetrate into the meat. The great thing about RUB seasoning is that during cooking, it forms a delicious “spice bark” on the surface of the meat over time. This bark is what grillers crave!
You can also apply RUB seasoning the day before instead of brining, in which case the salt will absorb into the meat. In this case, you won’t add extra moisture to the meat since it’s not available, but the meat will retain its moisture better when the salt from the seasoning has absorbed into it. A dry rub alone also gives a good result, but it’s good to go through the different options. The juiciness of the end result is also affected by the cooking equipment used and its internal moisture, but that’s the kind of fine-tuning you can experiment with based on your own equipment and experience.
The purpose of mustard under the dry seasoning is to help the spice layer stick better and to add its own flavor. Opinions vary on this, but I personally use mustard almost every time under the seasoning layer.
Some like a lot of smoke and others prefer less. This one has plenty 🙂
In the oven wrapped in foil:
My personal recommendation “at home in the city.” Season the ribs as described above, wrap them tightly in foil, and place them in a deep oven tray.
If you have a large oven dish with a lid, forget the foil and place the ribs in there instead.
PRE-COOKING: 125 degrees Celsius for about 1.5 to 3 hours depending on the thickness of the ribs. You’ll know that the pre-cooking is done when you open one foil wrap or the lid of the dish and see that the meat has pulled back so that about 1–1.5 cm more of the bone is visible compared to when raw. Poke with a fork to check that the tenderness is to your liking. Write down the temperature and time for next time. Now you can move on to finishing or cool the ribs (airtightly wrapped in foil or under a lid) for finishing and serving later.
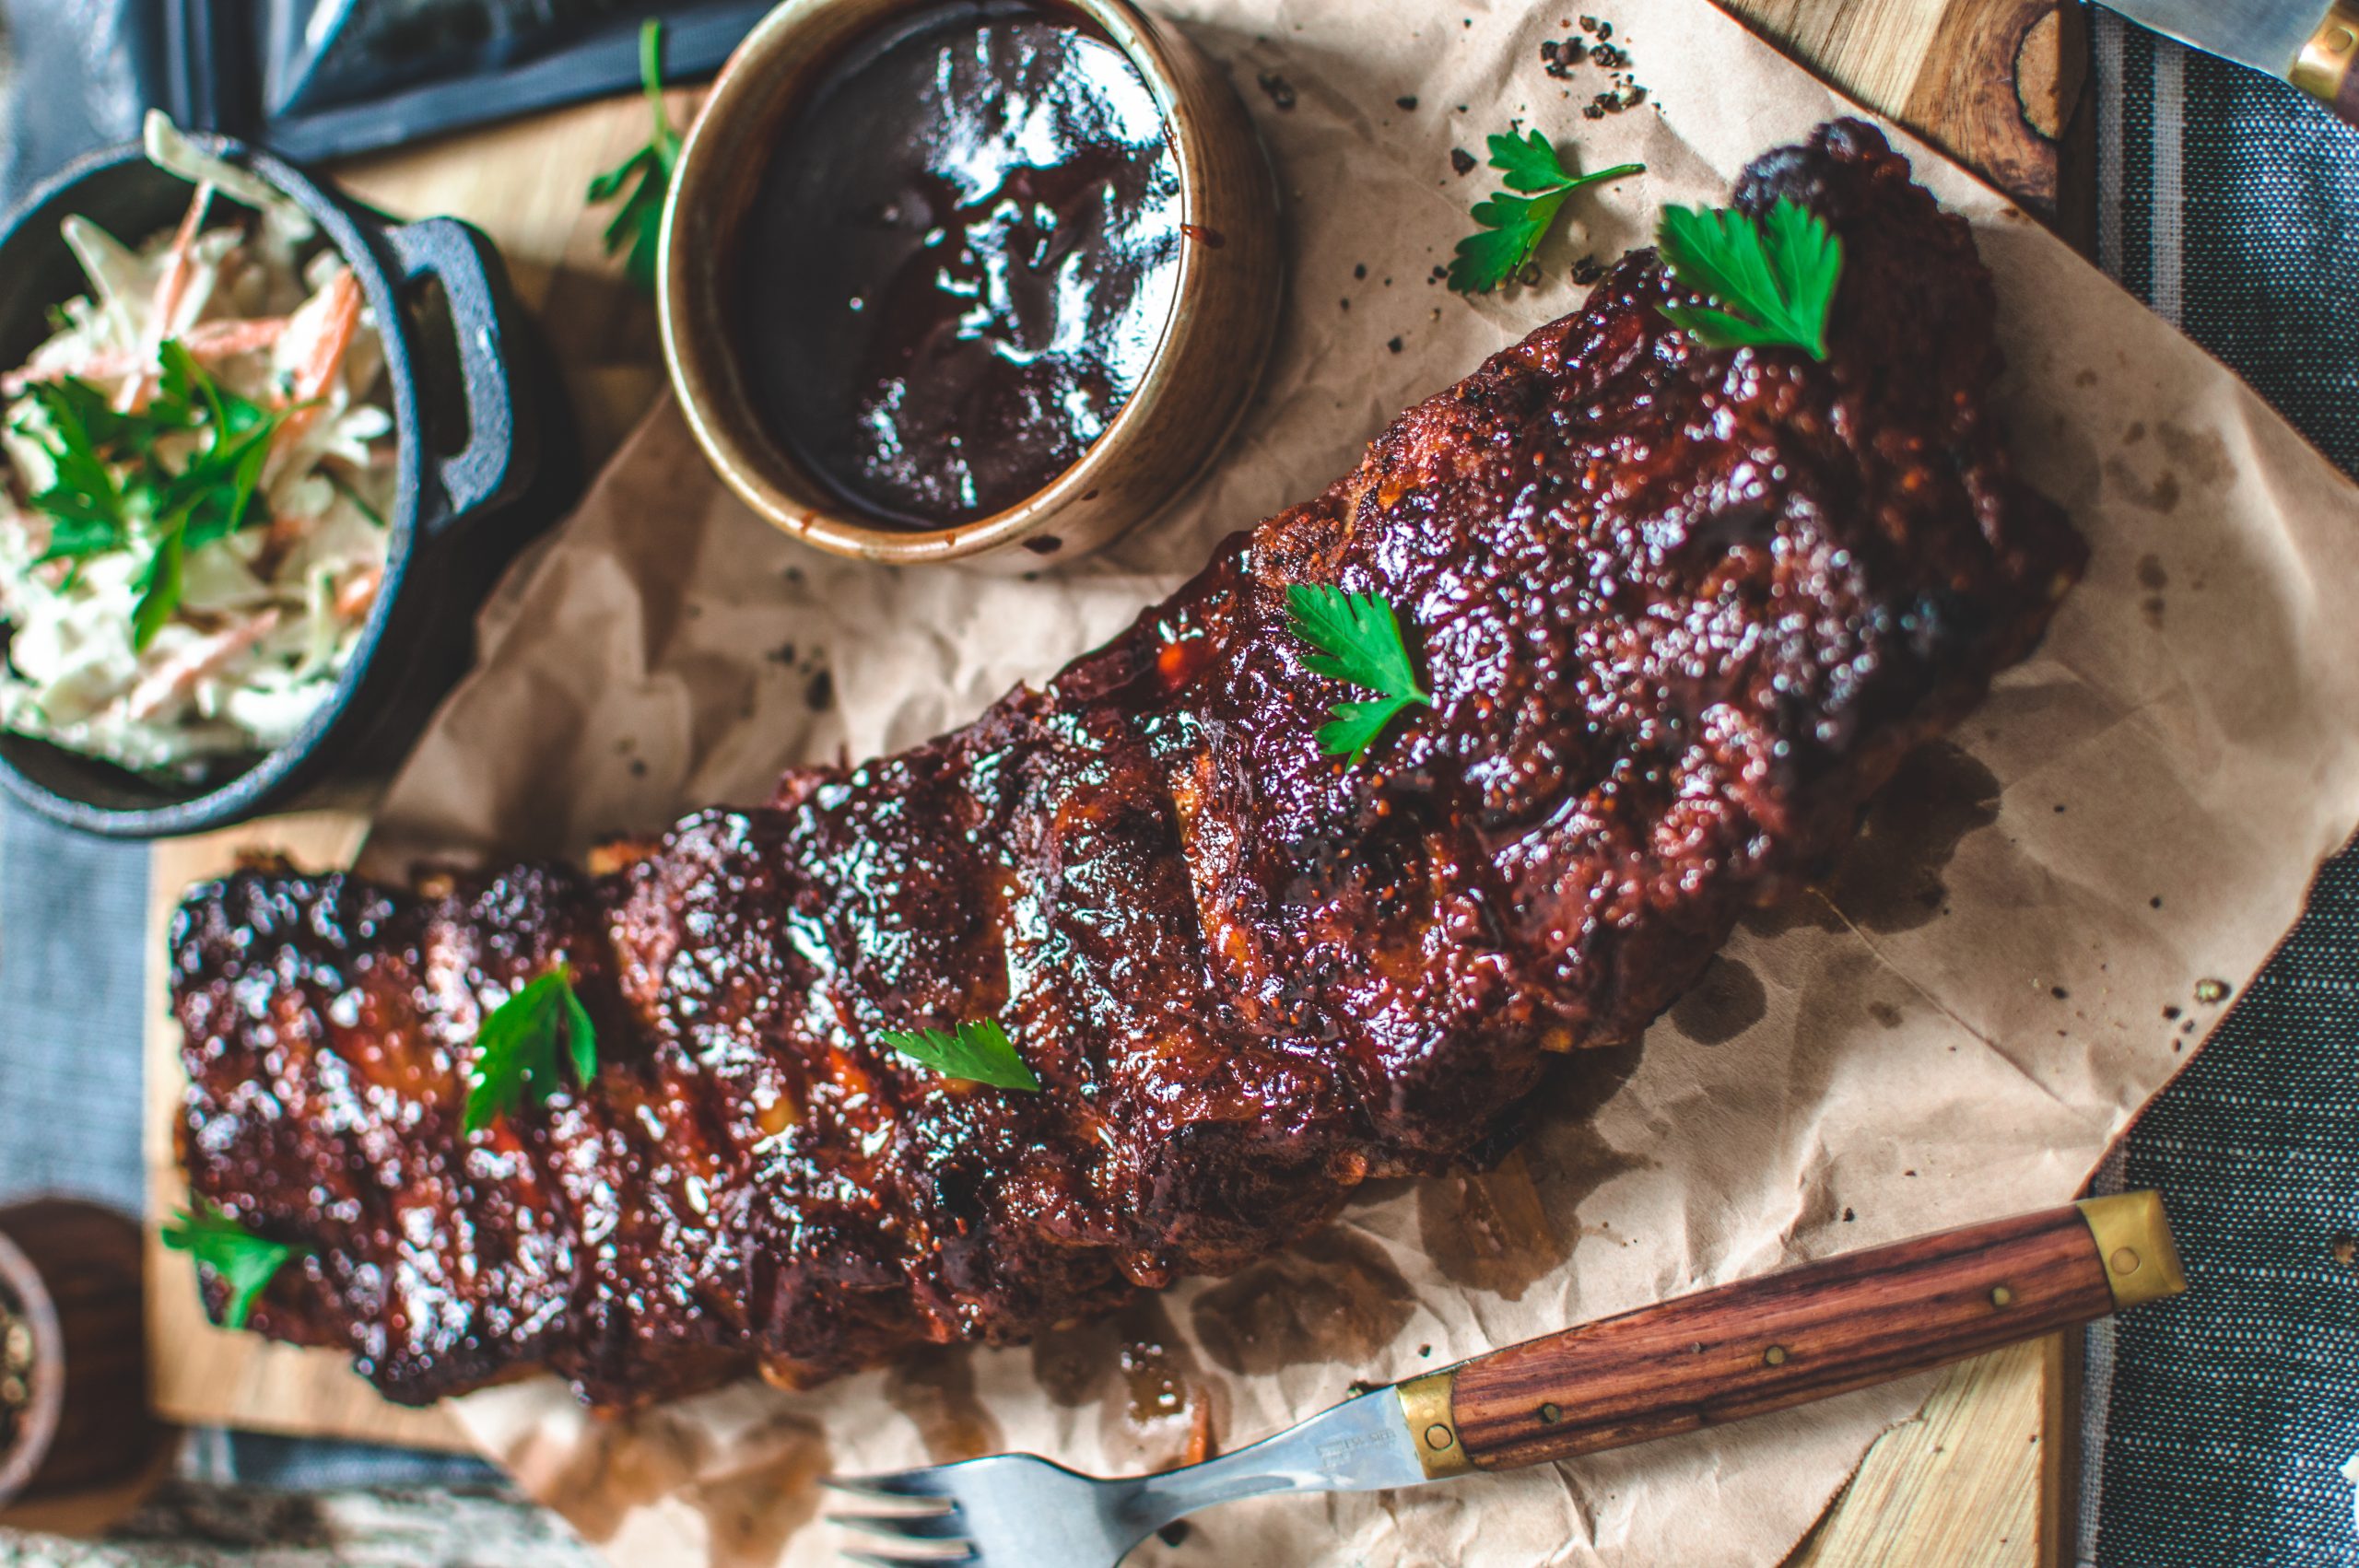
FINISHING: Take the ribs out of the oven, raise the temperature to 225 degrees, and brush the surface of the ribs with your chosen (recommended) BBQ sauce. Roast them uncovered / unwrapped for about 5–10 minutes or until the BBQ sauce has caramelized on the surface (don’t burn it).
Boiling:
“If you boil your ribs, the bad guys win,” said the founder of the Amazingribs website, and he’s kind of right. However, the method is popular, and many still boil them—even in restaurants. It is, after all, the fastest way to tenderize, but at the same time, you give up some of the meat’s flavor into the surrounding liquid. So, you’re basically making broth. Of course, a well-seasoned broth can also give flavor back into the meat during the boiling. Personally, the word “boiling” makes me wince. I’d much rather simmer at 85–90 degrees Celsius than have a rolling boil. This preserves the flavor better and also keeps the texture of the meat more pleasant. This is of course harder to manage at home, where you usually don’t have equipment that maintains temperature that precisely. Induction stovetops are already more versatile in heat control and help in finding the right setting. In any case, don’t boil “aggressively,” meaning water bubbling violently over the edges, but rather with occasional gentle bubbles.
Likewise, in an apartment you could do the pre-cooking using the oven method—it turns out better that way. I told this to a friend, but he said he still boils ribs. Why? In the apartment, it got too hot in the summer if the oven was on for too long. I understood the point, so let’s not judge those who boil, but instead think about how to achieve the best result.
“Boiling” takes 1.5 to 2 hours depending on the desired tenderness.
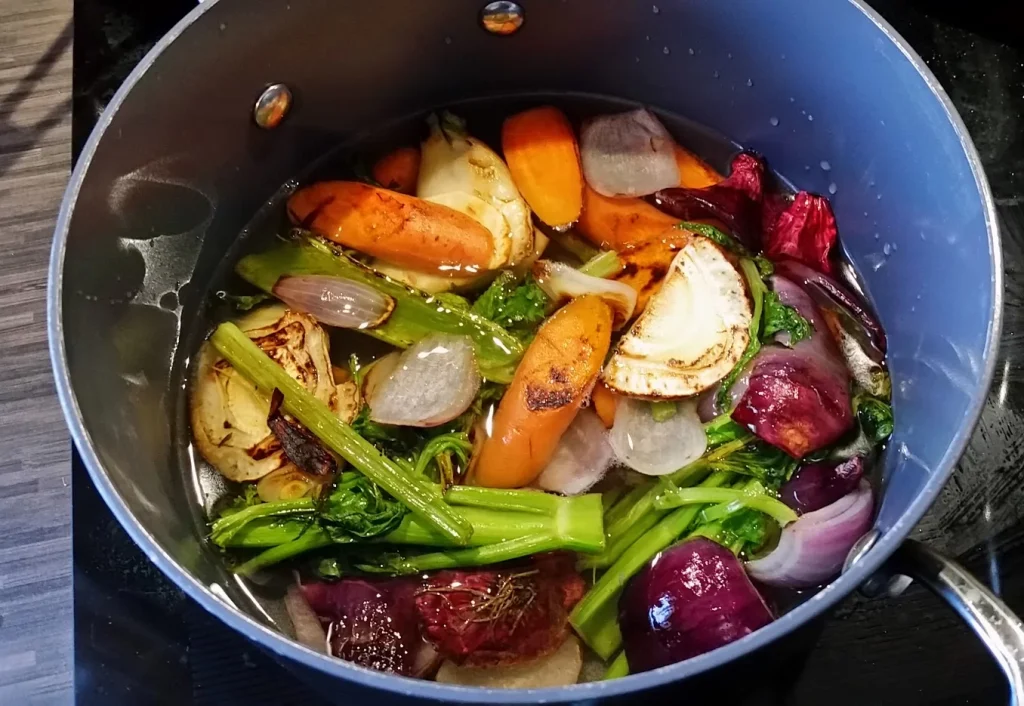
The broth needs to be flavorful; here we used plenty of vegetables, and with the ribs added beer, salt, meat stock, and liquid smoke.
FINISHING: You can either finish the same way in the oven as described above or grill them. When grilling, use direct heat and a hot grill. Be careful not to burn the sugar too much. Depending on the “cooking broth,” you can also add flavor to the ribs by patting some of it on before brushing with BBQ sauce. You can also turn the broth into BBQ sauce by reducing it down and adding brown sugar and ketchup.
I was on a TV show called “Grillikuume,” and in it I made a basting sauce for ribs by boiling lobster claws, cider, vegetables, and sugar. The idea was to bring out a surf & turf feel, and the result was really good. Don’t be afraid to try different combinations if you’re making the sauce yourself.
My personal favorite! I don’t think anything beats smoked ribs, this is the essence of American barbecue. Of course, not everyone can do this everywhere, but if you have the chance at a summer cottage, for example, it’s definitely worth trying. Besides, watching the smoker with a beer in hand is one of the best ways to spend a summer day! 🙂
The most popular technique is definitely the 3-2-1 method or a modification of it: smoke for 3 hours at low temperature (100–120°C), then wrap in foil for 2 hours (with a light moistening, e.g., with apple juice), and finally 1 hour unwrapped at a higher temperature (e.g., 130–150°C), basting regularly. I originally learned this method from Steven Raichlen’s book “Barbecue Bible,” and I recommend checking it out if you’re not already familiar with it.
NOTE! The 3-2-1 method is not necessarily the right choice if the ribs have very little meat. Bone-in belly with lots of meat works great. For thin Finnish baby backs or spare ribs, I would shorten the smoking time by an hour, and possibly the foil phase too—so, 2-1-1. The most important thing is to understand when the ribs are done, and the easiest way to determine that is by testing the tenderness with a fork. One sign is the ends of the bones becoming exposed by about 1–1.5 cm.
These days there is an abundance of literature on grilling and smoking, and for just about every type of equipment there are clever guides and books. Google is a great tool, and there’s a huge amount of ready-made recipes for all kinds of preferences.
With the 3-2-1 method, it’s important to be careful during the final hour so the ribs don’t dry out. And you shouldn’t wait the full hour if it looks like the ribs are already done and the sauce has caramelized.
Sometimes I like to make very smoky ribs at around 100 degrees. I don’t use the above technique exactly as it is, but instead smoke for 3–5 hours (depending on the amount of meat), occasionally moistening the spice surface with cola or apple juice. Other times I skip the moistening and baste with BBQ sauce every 30 minutes. I finish the ribs on a hot grill with BBQ sauce (Smoky Apple BBQ). This technique is best suited for very meaty ribs or pork belly.
When smoking, it’s important to know your own preference for smokiness and to pay attention to the smoking wood or chips. Personally, I like smoke from apple wood and oak, and no one has ever ruined their food with too little smoke—but you can definitely overdo it.
When using chips, don’t soak them—instead use lower heat or a smoker box inside the smoker, placed over the coals. You can also make one out of thick foil or a foil tray—just make it fairly airtight and poke a couple of holes on top for the smoke to come out. That way the chips won’t catch fire as easily. Smoking chunks are better than chips and you can throw them straight onto the coals. Your mom’s apple orchard or the neighbor’s cherry tree probably has some “extra” branches too. 😀
PREPARATION: Just like above—thick ribs or pork belly brined overnight in 4% salt solution—on both sides, and once the smoke is going and the temperature is where you want it, begin smoking. You can test tenderness with a fork or a skewer, but it’s best to do so only once the bone ends start to show more, around 1–1.5 cm.
Moisten the surface if needed—a good tool is a spray bottle filled with cola or apple juice. A light misting is enough; don’t rinse off the spices. A light spray moistens the seasoned surface and adds extra sugar that caramelizes into the crust. Smoke also sticks better to a moist surface.
FINISHING: On the grill over hot direct heat, basting with BBQ sauce. Let the BBQ sauce caramelize. When I baste the ribs with BBQ sauce during smoking, I skip the grilling and just wait until the sauce has become nicely sticky.
Contrary to what you might think, you can also make ribs directly in a single step on the grill or in the smoker at higher heat. The result isn’t quite as juicy, but still excellent. The key here is timing—10 minutes too long and they’ll be noticeably drier. With this method, you won’t get “fall-off-the-bone” ribs, just ribs with a good chew. I use this technique when I’m in a hurry (which you should never be when grilling 🙂) or when a craving hits unexpectedly as soon as hunger sets in. Then you can barely wait.

Crispy, spicy, and just tender enough…
PREPARATION: On both sides, and once the smoke is going and the temperature is right (around 150 degrees), start smoking or grilling over indirect heat. You can test for tenderness with a fork or skewer, but it’s best to do so only once the bone ends start to show more, about 1 cm. Cooking takes about 1.5 hours with this method.
FINISHING: Baste during the last few minutes and remove the ribs from the grill or smoker to be wrapped in foil or placed in a covered dish. Let rest for 15–20 minutes and they are ready to serve.
Slow cookers like Crockpot™ are a really easy way to make juicy and tasty ribs with little effort. And you don’t have to worry about the apartment heating up—even in the summer. Preparation and finishing are the same as you would do in the oven. And yes, try adding a bit of liquid smoke too!
Set the slow cooker to low and let it simmer under the lid for 2.5 hours. Then raise the heat to a higher setting and let it cook for another 3–5 hours depending on the thickness of the ribs.
Vakuumissa vesihauteessa – sous vide:
Juicy, sweet, and slightly salty… with an Asian vibe!
Using sous vide (a water bath) to make ribs is probably some level of sacrilege to traditional smokers, but at Poppamies we believe that no technique can be wrong if it produces good results! Here’s one way to make excellent ribs:
Steps 4–7 are a combination of different techniques and an example of how far you can take the recipe. Alternatively, you can brush the ribs and roast them in the oven at 225 degrees for 10 minutes or grill them to get a crispy surface. But we STRONGLY RECOMMEND going all the way if you have both a smoker and a deep fryer available.
Let us and others know what you thought of the recipe. Did you tweak it in any way? Share your tips with others!

Leave a Reply